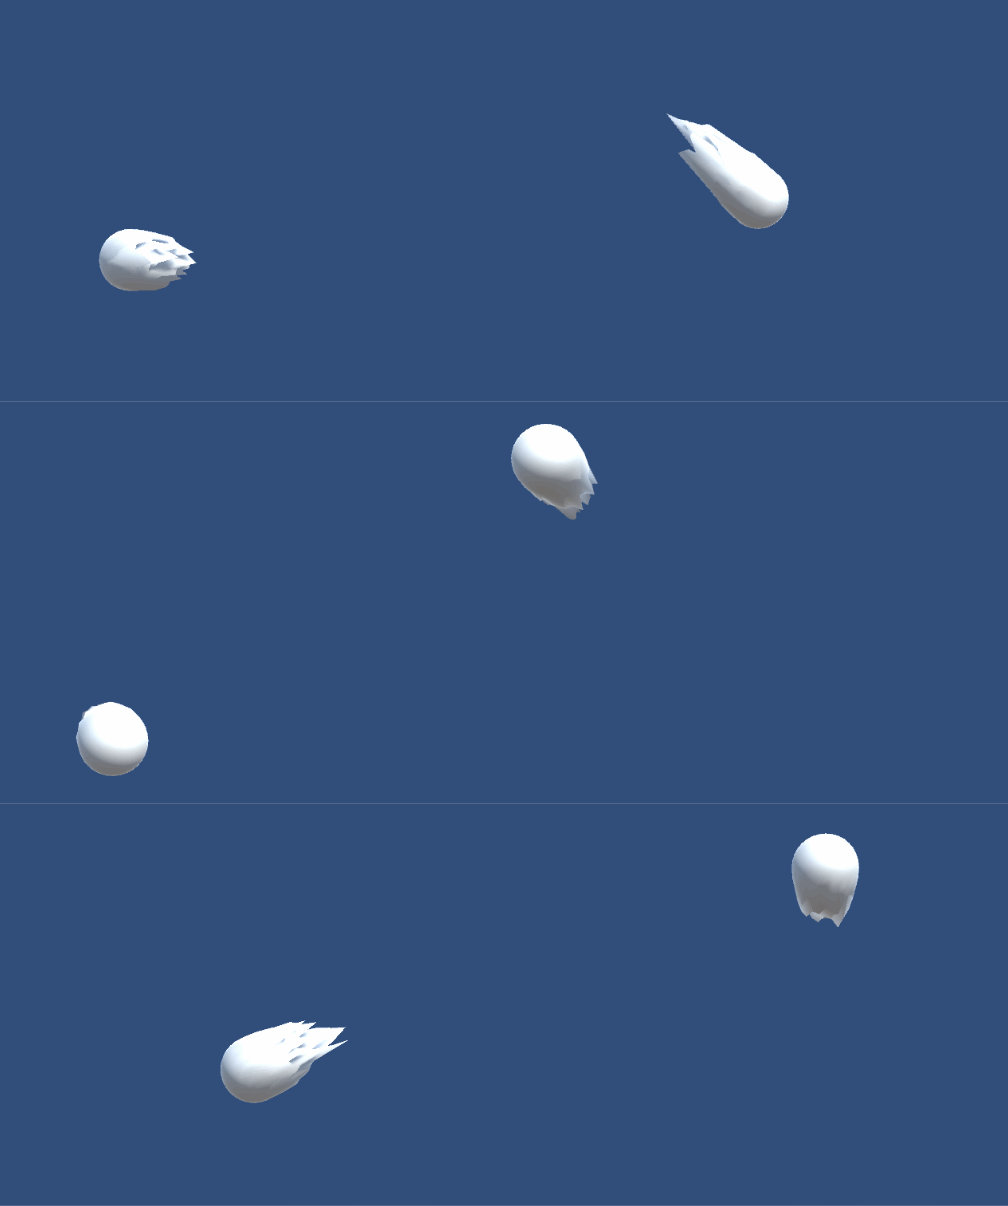
はじめに
上記の「HelpfulScripts」に含まれている「SmearEffect.cs」と
「Smear.shader」を Unity プロジェクトに追加することで
Smear Frame Effect を使用できるようになります
使用例

使い方(ソースコードは引用)
SmearEffect.cs
using UnityEngine;
using System.Collections;
using System.Collections.Generic;

public class SmearEffect : MonoBehaviour
{
    Queue<Vector3> _recentPositions = new Queue<Vector3>();

    [SerializeField]
    int _frameLag = 0;

    Material _smearMat = null;
    public Material smearMat
    {
        get
        {
            if (!_smearMat)
                _smearMat = GetComponent<Renderer>().material;

            if (!_smearMat.HasProperty("_PrevPosition"))
                _smearMat.shader = Shader.Find("Custom/Smear");

            return _smearMat;
        }
    }

    void LateUpdate()
    {
        if(_recentPositions.Count > _frameLag)
            smearMat.SetVector("_PrevPosition", _recentPositions.Dequeue());

        smearMat.SetVector("_Position", transform.position);
        _recentPositions.Enqueue(transform.position);
    }
}
Smear.shader
// Upgrade NOTE: replaced '_Object2World' with 'unity_ObjectToWorld'
// Upgrade NOTE: replaced '_World2Object' with 'unity_WorldToObject'

Shader "Custom/Smear"
{
    Properties
    {
        _Color("Color", Color) = (1,1,1,1)
        _MainTex("Albedo (RGB)", 2D) = "white" {}
        _Glossiness("Smoothness", Range(0,1)) = 0.5
        _Metallic("Metallic", Range(0,1)) = 0.0

        _Position("Position", Vector) = (0, 0, 0, 0)
        _PrevPosition("Prev Position", Vector) = (0, 0, 0, 0)

        _NoiseScale("Noise Scale", Float) = 15
        _NoiseHeight("Noise Height", Float) = 1.3
    }

    SubShader
    {
        Tags{ "RenderType" = "Opaque" }
        LOD 200

        CGPROGRAM
        #pragma surface surf Standard vertex:vert addshadow
        #pragma target 3.0

        sampler2D _MainTex;

        struct Input
        {
            float2 uv_MainTex;
        };

        half _Glossiness;
        half _Metallic;
        fixed4 _Color;
        fixed4 _PrevPosition;
        fixed4 _Position;

        half _NoiseScale;
        half _NoiseHeight;

        float hash(float n)
        {
            return frac(sin(n)*43758.5453);
        }

        float noise(float3 x)
        {
            // The noise function returns a value in the range -1.0f -> 1.0f

            float3 p = floor(x);
            float3 f = frac(x);

            f = f*f*(3.0 - 2.0*f);
            float n = p.x + p.y*57.0 + 113.0*p.z;

            return lerp(lerp(lerp(hash(n + 0.0), hash(n + 1.0), f.x),
                lerp(hash(n + 57.0), hash(n + 58.0), f.x), f.y),
                lerp(lerp(hash(n + 113.0), hash(n + 114.0), f.x),
                    lerp(hash(n + 170.0), hash(n + 171.0), f.x), f.y), f.z);
        }

        void vert(inout appdata_full v, out Input o)
        {
            UNITY_INITIALIZE_OUTPUT(Input, o);
            fixed4 worldPos = mul(unity_ObjectToWorld, v.vertex);

            fixed3 worldOffset = _Position.xyz - _PrevPosition.xyz; // -5
            fixed3 localOffset = worldPos.xyz - _Position.xyz; // -5

            // World offset should only be behind swing
            float dirDot = dot(normalize(worldOffset), normalize(localOffset));
            fixed3 unitVec = fixed3(1, 1, 1) * _NoiseHeight;
            worldOffset = clamp(worldOffset, unitVec * -1, unitVec);
            worldOffset *= -clamp(dirDot, -1, 0) * lerp(1, 0, step(length(worldOffset), 0));

            fixed3 smearOffset = -worldOffset.xyz * lerp(1, noise(worldPos * _NoiseScale), step(0, _NoiseScale));
            worldPos.xyz += smearOffset;
            v.vertex = mul(unity_WorldToObject, worldPos);
        }

        void surf(Input IN, inout SurfaceOutputStandard o)
        {
            // Albedo comes from a texture tinted by color
            fixed4 c = tex2D(_MainTex, IN.uv_MainTex) * _Color;
            o.Albedo = c.rgb;

            // Metallic and smoothness come from slider variables
            o.Metallic = _Metallic;
            o.Smoothness = _Glossiness;
            o.Alpha = c.a;
        }
        ENDCG
    }

    FallBack "Diffuse"
}

上記の「SmearEffect.cs」と「Smear.shader」を Unity プロジェクトに追加します

そして、Smear Frame Effect を適用したいオブジェクトに
「SmearEffect.cs」をアタッチしてゲームを再生します
「Frame Lag」の入力欄で演出の表示時間を調整できます
参考ツイート
Remade the UE4 smear effect that's going around in Unity. Get it here: https://t.co/zhNn6l5XBS pic.twitter.com/bsOVlxhBdp
— 🌭Chris Wade (@chriswade__) 2016年6月29日
- もっと読む
コメントを書く