はじめに
wohoo! (editorscript to randomize colors and example shader https://t.co/f3BjwCn7oI ) pic.twitter.com/H2a50UiWxK
— mgear (@unitycoder_com) 2018年5月30日
Twitter で Unity エディタの文字や背景を好きな色に変更する方法が紹介されていたので
自分の記事でも手順を書き残しておこうと思います
検証環境
- Unity 2017.4.1f1
手順
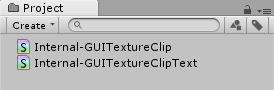
まず、下記の「Internal-GUITextureClip.shader」と
「Internal-GUITextureClipText.shader」を Unity プロジェクトに追加します
上記のように「Internal-GUITextureClip.shader」と
「Internal-GUITextureClipText.shader」を Unity プロジェクトに追加したら、
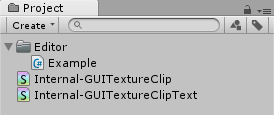
次に、Unity プロジェクトに「Editor」フォルダを作成して、
「Editor」フォルダの中に下記のスクリプトを追加します
using UnityEditor;
using UnityEngine;

public static class Example
{
    [InitializeOnLoadMethod]
    private static void Init()
    {
        // ここで好きな色を設定する
        var textColor       = new Color32( 224, 224, 224, 255 ); // 文字
        var backgroundColor = new Color32( 255, 224,   0, 255 );   // 背景

        Shader.SetGlobalColor( "_textColor"      , textColor       );
        Shader.SetGlobalColor( "_backgroundColor", backgroundColor );
    }
}
そして、一度 Unity を終了してから Unity を起動し直すと、

Unity エディタの文字や背景の色が変わったことが確認できます
備考
GitHub で公開されている「Zios Themes」を Unity プロジェクトに導入することで、
Unity エディタの文字や背景を好きな色に変えることもできます
- もっと読む
コメントを書く